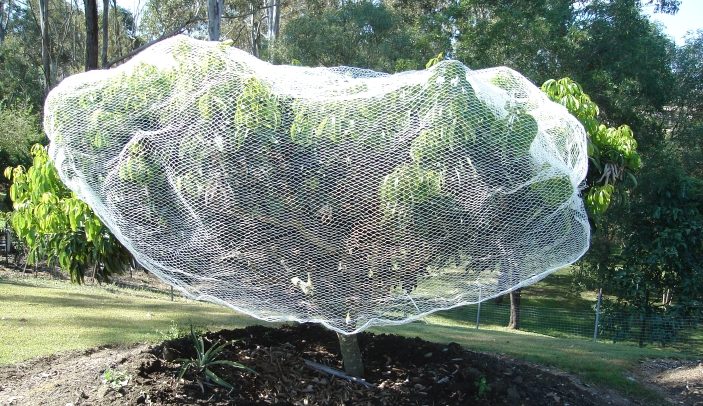
Welcome to our birdnet installation guide! If you’re looking to set up bird netting to protect your crops, plants, or property from bird damage, you’ve come to the right place. Our step-by-step instructions will help you through the process of installing bird netting, ensuring that it’s set up correctly and functions effectively. Whether you’re a seasoned DIY-er or new to bird netting installation, we’re here to assist you every step of the way. Let’s get started!
- Determine the size of the area to be covered. Measure the length and width of the area and calculate the total square meterage.
- Purchase the bird netting and any necessary tools, such as cable ties, scissors, and wire.
- Clean the area to be covered. Remove any debris or obstacles that could get in the way of the netting installation.
- Unroll the bird netting and stretch out. Cut it to the appropriate length, leaving enough extra netting to cover the edges and wrap around the perimeter of the area.
- To attach to structure continue otherwise skip to instruction 8 – Begin at one corner of the area and attach the bird netting to a sturdy structure, such as a fence or wall. Use cable ties or wire to secure the netting in place.
- Continue attaching the bird netting to the structure, working your way around the perimeter of the area. Make sure to stretch the netting tight to prevent birds from finding their way in through loose spots.
- To attach to tree – stretch over the top of the tree so it’s in the middle and equal amounts hanging on each side. wrap it around the trunk of the tree and secure it with cable ties or wire. Make sure the netting is pulled tight so that birds can’t find their way through any loose spots.
- Inspect the netting installation to make sure that it is secure and free from any holes or gaps. If necessary, make any necessary adjustments to ensure that the area is fully covered and protected from birds.
- Enjoy a bird-free backyard!

